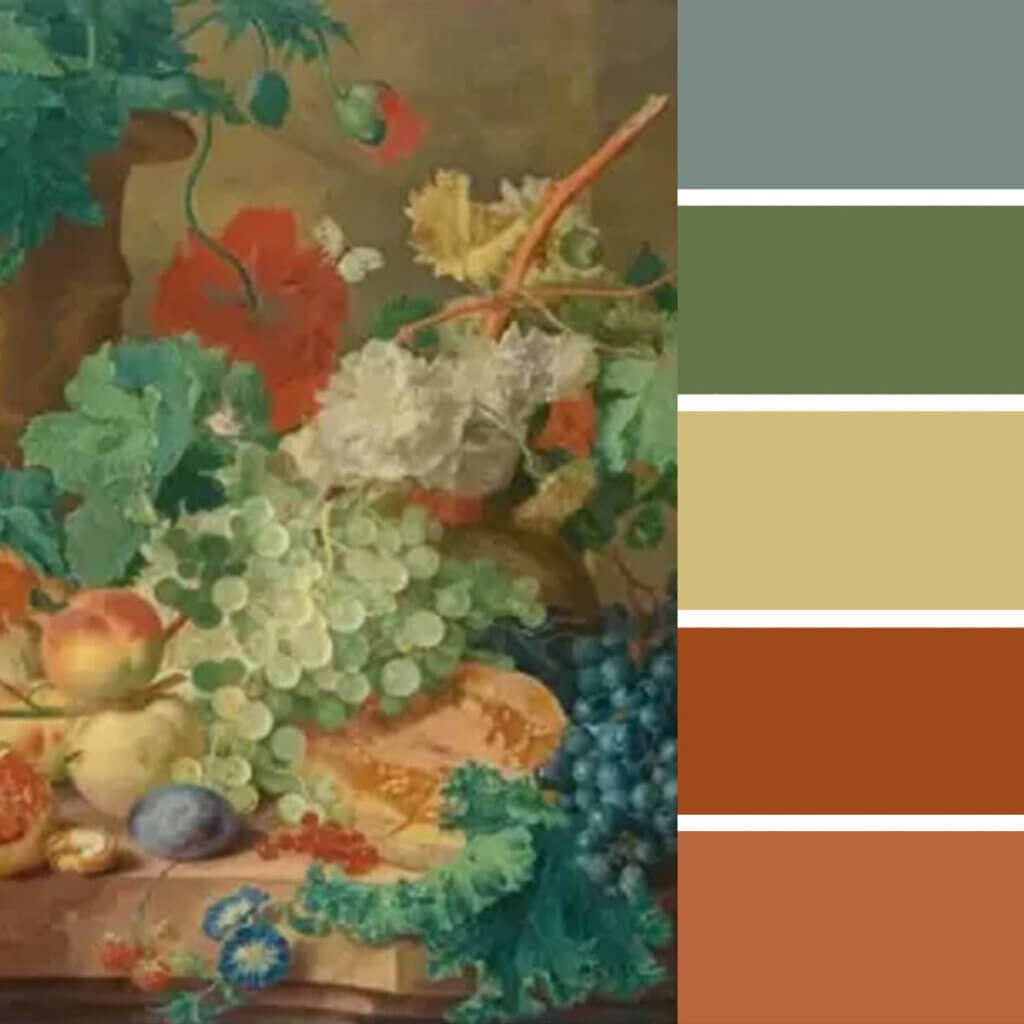
There are a lot of “color palette generators” online and some of them are actually good. But most of them only allow you to create a palette of 6-10 colors. That never seems to be enough for me. I want all the main colors – or at least most of them. I have found two online resources that do it.
I have also included ways to extract colors from a photo using Illustrator and Photoshop.
iColor Palette
You can upload a photo or link to a photo on the web using iColor Palette. It provides up to about 59 colors and allows you to download a PDF, PNG or even the .ase or .aco color profiles for Photoshop and Illustrator. It is by far the best and easiest tool I’ve found for extracting almost all the main colors in an image.
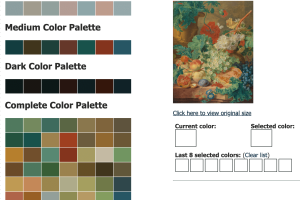
CSS Drive
CSS Drive can also extract color from a photo. You can also either upload a photo or link to one on the web. And it extracts a lot more than 6 or 8 colors. It’s a bit older and hasn’t been updated in quite some time, but it gives you all the main colors of an image. Unfortunately it only allows you to download the CSS (hexadecimal) colors. You can download an .aco color file for Photoshop. But Illustrator doesn’t import .aco files. There is a workaround described below. I usually just take a screen shot of the results when I use this tool and use Illustrator’s eyedropper tool to select the colors.
Illustrator's Image Trace Tool
Obviously you can use the Trace image tool inside Adobe Illustrator to extract the colors but sometimes trying to move from 5000+ colors to 20 or so can be daunting.
The easiest way to fix this is to use the Magic Wand tool to select “like colors” and then change them all to one single color using the Eyedropper tool. To narrow or expand the range of like colors you select, double-click on the Magic Wand tool and change the tolerance. A lower number = a small number of colors you’ll select. You’ll need to play around with this to get the results you want but you can quickly narrow down the colors in vectorized photo from thousands to just a handful.
Limit Colors in Photoshop
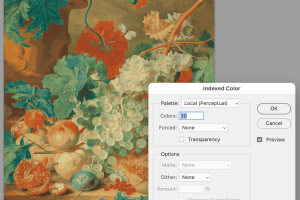
You can use Photoshop to narrow down the range of colors of an image by changing its color mode from RGB or CMYK to Indexed color (or a GIF image). You can then bring that image with limited color into Illustrator and use the Image Trace tool.
To do this go to Image > Mode and choose Indexed Color. If the image is CMYK you’ll first need to change it to RGB before Index Color.
Play around with Local Perceptual, Adaptive and Selective under the Palette option. I always make certain “Forced” = none and I limit the number of colors to around 30. You can go as high as 256. Click “okay.” You’ll need to change that image BACK to either RGB or CMYK before importing or dragging into Illustrator as Illustrator won’t accept GIF images.
Once inside Illustrator you can use the Image Trace tool and lower the number colors using the Recolor tool or Magic Wand tool.
Extract the GIF Color Table
You can also extract just the Indexed color table and skip the Image Trace tool in Illustrator altogether. To do so, open a photo and choose File > Save for Web (Legacy) and choose GIF.
Again play around with “perceptual, adaptive” etc and the number of colors. But instead of saving the photo go down to the color table it extracted and click on the little hamburger menu in the upper right corner.
From that menu choose “Save Color Table.” Name and save the .act file. Unfortunately Illustrator doesn’t work with .act or .aco files (thanks Adobe!) so you’ll have to import the file into Photoshop and then export it as an Adobe Exchange File (.ase).
Sample photo is from Unsplash.


